

Before you begin
Sign in at adam.new. If you want Adam to review a file, have it ready to upload.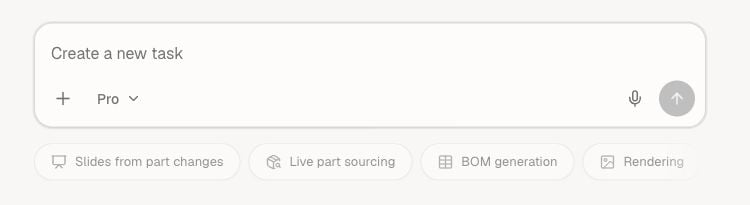
Use + to attach a file, then describe the result you need in the message box.
1
Start a task
Select New Task in the sidebar.
2
Add anything Adam should review
Attach a file, drag it into the message box, or paste an image. Skip this step if your question does not need a file.
3
Describe what you need
Tell Adam the outcome you want. Mention anything it should preserve, check, or avoid changing.
4
Send your message
Adam shows its progress in the conversation. If it needs more information or your approval, answer in the task.
5
Review the work
Read the response and open any files Adam creates. Reply in the same task to ask questions or refine the result.
Write a useful first request
Say what Adam should review, what you want back, and anything it must not change.Review an attached drawing
Ask an engineering question